
In this article, we will explore the different types of home theater screen types explained and help you choose the perfect screen for your setup.
What Are the Main Types of Home Theater Screens?
Home theater screens come in various types, each designed for specific environments and viewing preferences. Understanding these types will help you make an informed decision.
1. Fixed Frame Screens
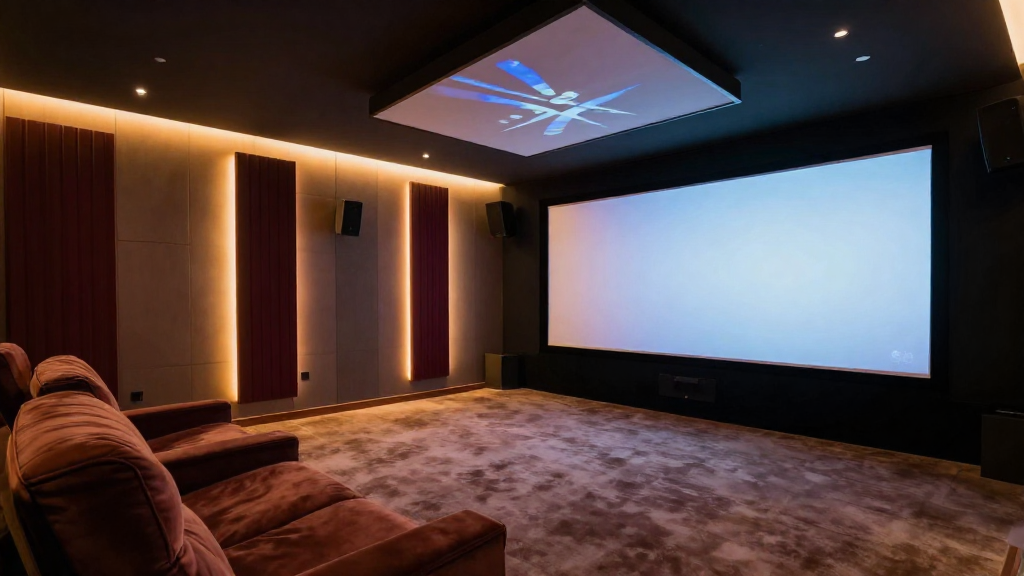
Fixed frame screens are permanently mounted on a wall and offer a sleek, professional appearance. They are ideal for dedicated home theater rooms.
- **Pros:** Excellent image quality, no wrinkles, and easy installation.
- **Cons:** Not portable, requires wall space.
2. Motorized Screens
Motorized screens are convenient and can be rolled down or up with a remote control. They are perfect for multi-use rooms where you may want to hide the screen when not in use.
- **Pros:** Easy to use, saves space.
- **Cons:** More expensive, may require professional installation.
3. Pull-Down Screens
Pull-down screens are versatile and can be easily pulled down from a mounted case. They are great for casual viewing and can be used in various settings.
- **Pros:** Affordable, easy to store.
- **Cons:** Can be prone to creasing, may not be as aesthetically pleasing.
What Are the Different Materials Used for Home Theater Screens?
Each screen type can be made from different materials, impacting the viewing experience. Understanding these materials is essential when choosing a screen.
1. Matte White
Matte white screens are the most common and versatile option. They reflect light evenly and are suitable for various lighting conditions.
- **Pros:** Excellent color accuracy, suitable for most projectors.
- **Cons:** Limited brightness in well-lit rooms.
2. High Contrast Gray
High contrast gray screens enhance blacks and improve contrast, making them ideal for dark rooms. They work well with 4K projectors.
- **Pros:** Better black levels, reduces ambient light.
- **Cons:** May wash out colors in bright rooms.
3. Acoustic Transparent Screens
Acoustic transparent screens allow sound to pass through, making them perfect for setups where speakers are placed behind the screen. They offer a seamless viewing and listening experience.
- **Pros:** Maintains audio quality, sleek design.
- **Cons:** More expensive, requires careful placement of speakers.
How Does Screen Size Affect Your Home Theater Experience?
The size of your home theater screen can significantly impact your viewing experience. It’s essential to choose the right size based on your room’s dimensions and seating arrangement.
1. Measuring Your Space
Before selecting a screen size, measure the distance from your seating area to the wall where the screen will be mounted. This will help determine the optimal screen size for comfortable viewing.
- **General rule:** The ideal screen size is 1/2 to 1/3 of the viewing distance.
- **Example:** If you sit 10 feet away, a screen size of 80-120 inches diagonal is recommended.
2. Aspect Ratio Considerations
Aspect ratio is another essential factor when choosing a screen size. The most common aspect ratios are 16:9 (widescreen) and 2.35:1 (cinematic).
- **16:9:** Ideal for most TV shows and movies.
- **2.35:1:** Best for cinematic films, providing a more immersive experience.
3. Viewing Angles
Consider the angle from which viewers will be watching the screen. A larger screen may be necessary if viewers are positioned at various angles, ensuring everyone has a good view.
- **Optimal viewing angle:** Ideally, viewers should be seated within 30 degrees of the screen’s center.
- **For larger screens:** Consider a screen with a wider viewing angle to accommodate multiple viewers.
What Are the Best Tips for Installing Your Home Theater Screen?
Installation is crucial for maximizing the performance of your home theater screen. Here are some essential tips to ensure a successful setup.
1. Choose the Right Location
The location of your screen can significantly influence your viewing experience. Opt for a wall that minimizes glare and avoids direct sunlight.
- **Dark walls:** Help absorb light and enhance image quality.
- **Avoid windows:** If possible, position the screen away from windows to minimize distractions.
2. Proper Mounting Height
Mount the screen at the correct height to ensure comfortable viewing. The center of the screen should ideally be at eye level when seated.
- **Standard height:** Typically, this is about 42-48 inches from the floor.
- **Adjust for seating:** If you have different seating heights, adjust the screen accordingly.
3. Electrical Considerations
If you’re installing a motorized or electric screen, ensure proper electrical setup for seamless operation. It may require professional installation to avoid potential issues.
- **Consult an electrician:** For any electrical work needed for motorized screens.
- **Use surge protectors:** To protect your equipment from electrical surges.
How Do You Maintain Your Home Theater Screen?
Regular maintenance of your home theater screen is vital for longevity and performance. Proper care ensures that your viewing experience remains top-notch.
1. Cleaning Techniques
Cleaning your screen should be done gently to avoid damage. Use a microfiber cloth and a screen-safe cleaner for effective cleaning.
- **Avoid harsh chemicals:** They can damage the screen surface.
- **Spot clean:** For stubborn stains, use a small amount of cleaner on a cloth.
2. Storage Considerations
If you’re using a pull-down or portable screen, proper storage is essential. Keep the screen in a protective case or bag when not in use.
- **Avoid bending:** This can create creases that affect image quality.
- **Store in a cool, dry place:** To prevent mildew or mold.
3. Regular Inspections
Inspect your screen regularly for any signs of wear or damage. Addressing issues early can prevent more significant problems later on.
- **Check for tears or creases:** These can distort the image.
- **Look for mounting issues:** Ensure that the screen remains secure and level.