
In this article, we will explore the intricacies of home theater volume calibration, ensuring you achieve the best sound experience in your entertainment space.
What is Home Theater Volume Calibration?
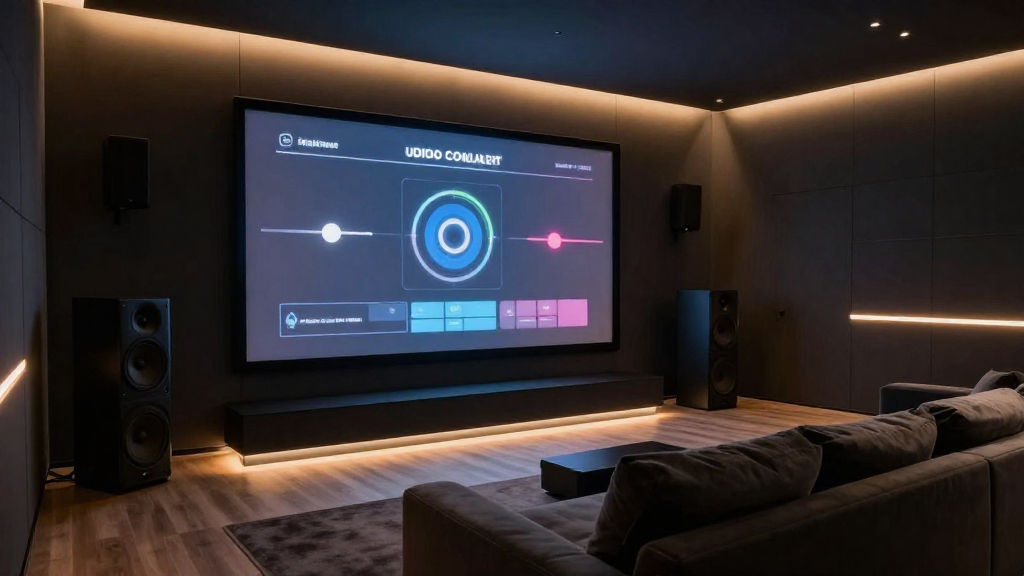
Home theater volume calibration is the process of adjusting the audio output levels of your home theater system. This is essential for creating a balanced sound environment where dialogue, music, and sound effects are all clearly heard. Proper calibration enhances the overall viewing experience, making it more immersive.
Why is Calibration Important?
Calibration is crucial for several reasons:
- Audio Clarity: It ensures that sounds are distinct and layered, so you can hear every detail in a movie.
- Balanced Sound: Proper calibration allows all speakers to work together harmoniously, preventing any one speaker from overpowering the others.
- Optimal Listening Experience: Calibration helps create an environment where the sound matches the visual elements, enhancing immersion.
Common Calibration Techniques
There are various methods to calibrate your home theater volume:
- Manual Calibration: Adjusting each speaker’s volume by ear using a test tone.
- Automated Calibration: Utilizing built-in calibration systems in receivers that measure sound levels with a microphone.
- Third-Party Calibration Tools: Using devices like SPL meters or calibration software for precise adjustments.
How Do You Start Calibrating Your Home Theater?
Beginning the calibration process for your home theater system involves several key steps that can help achieve the best audio performance.
Gather Your Equipment
Before you start, ensure you have the following:
- AV Receiver: The heart of your home theater system, where all audio signals are processed.
- Speakers: Ensure all speakers are properly connected and functioning.
- Calibration Tools: Consider using an SPL meter or a calibration microphone if available.
Set Up Your Listening Environment
Your room setup can significantly impact audio quality. Here are some tips:
- Speaker Placement: Position speakers at ear level and ensure they are equidistant from the main listening position.
- Room Acoustics: Use rugs, curtains, or acoustic panels to minimize reflections and improve sound quality.
- Distance Measurements: Measure the distance from each speaker to the listening position to input accurate settings.
What Are the Steps for Manual Calibration?
Manual calibration allows for a tailored audio experience, catering to personal preferences and room acoustics.
Step 1: Adjust the Volume Levels
Start with the AV receiver set to a reference level. Here’s how:
- Play a Test Tone: Use a test tone that cycles through each channel.
- Adjust Each Speaker: Use your SPL meter or ear to balance the sound levels.
- Document Settings: Keep records of the levels adjusted for future reference.
Step 2: Fine-Tune the Subwoofer
The subwoofer plays a critical role in providing deep bass sounds. To calibrate:
- Set the Phase: Adjust the phase control to ensure the subwoofer integrates well with the other speakers.
- Adjust the Level: Set the volume level to match the other speakers, avoiding overpowering bass.
- Test with Various Content: Use different types of audio content to ensure the bass feels cohesive.
How Can Automated Calibration Help?
Automated calibration systems can simplify the volume calibration process significantly.
Benefits of Automated Calibration
Utilizing an automated system can provide numerous advantages:
- Speed: Automated systems can analyze room acoustics and adjust settings quickly.
- Precision: They often provide more accurate results than manual calibration.
- Ease of Use: A simple setup often requires minimal user interaction.
How to Use Automated Calibration Tools
Here’s how to effectively use an automated calibration system:
- Place the Microphone: Position the calibration microphone at ear level in your primary seating area.
- Run the Calibration: Follow the instructions provided by your AV receiver to initiate the process.
- Review the Results: After calibration, listen to various content and make manual adjustments if necessary.
What Maintenance is Needed After Calibration?
After calibrating your home theater volume, regular maintenance is essential to keep the sound quality optimal.
Regular Checks
Periodically check the settings to ensure they remain optimal:
- Audio Tests: Re-run audio tests every few months or after major changes.
- Room Changes: If you rearrange furniture or add new items, recalibrate to adapt to the changes.
- Speaker Updates: If you upgrade speakers or components, recalibration is necessary.
Staying Informed
Stay updated with new technologies and techniques for home theater volume calibration:
- Follow Industry Trends: Subscribe to audio and home theater blogs.
- Engage with Communities: Join forums where enthusiasts share tips and experiences.
- Attend Workshops: Participate in local workshops or online courses about audio calibration.
Conclusion
Calibrating the volume levels in your home theater is essential for achieving the best possible audio experience. Whether you choose manual or automated methods, understanding the importance of home theater volume calibration can significantly enhance your enjoyment. By following the outlined steps and maintaining your system, you can ensure that your home theater remains a captivating entertainment space.