
In this article, we will explore the essential steps on how to calibrate home theater speakers to achieve the best audio experience.
What Is Speaker Calibration?
Calibrating home theater speakers involves adjusting the settings of your audio system to ensure balanced sound throughout the room. This process ensures that all speakers deliver sound at the same level and quality, enhancing your overall viewing and listening experience.
Why Is Calibration Important?
Calibration is crucial for several reasons:
- Balanced Sound: It ensures that sound reaches your ears from all speakers simultaneously, creating an immersive experience.
- Room Acoustics: Every room has unique acoustic properties that can affect sound quality. Calibration accounts for these variances.
- Optimized Performance: Proper calibration can enhance the performance of your audio equipment, allowing you to get the most out of your investment.
How Do You Start Calibrating Your Speakers?
Beginning the calibration process involves gathering the necessary tools and understanding your audio setup. This initial step is critical for achieving the best results.
Gather Necessary Tools
To calibrate home theater speakers effectively, you will need:
- Sound Level Meter: A device to measure sound levels accurately.
- Calibration Software: Programs like Audyssey or Room EQ Wizard can simplify the process.
- Microphone: Often included with calibration systems, it helps capture audio data.
Understand Your Audio Setup
Before you start, familiarize yourself with your receiver settings and speaker placement. Knowing how to access these settings will make the calibration process smoother.
- Look for options like speaker distance, level adjustments, and crossover settings.
- Identify the layout of your speakers and their distances from your seating position.
- Check the specifications of your speakers to understand their capabilities.
What Are the Steps to Calibrate Home Theater Speakers?
The calibration process consists of several systematic steps that can be performed at home. Following these steps will lead to a more enjoyable audio experience.
Set Up Your Speakers
Proper speaker setup is the first step towards calibration. Ensure that each speaker is positioned correctly according to your room layout.
- Place the front speakers equidistant from the central seating position.
- Position surround speakers slightly above ear level for optimal sound distribution.
- Ensure the subwoofer is placed strategically to avoid dead spots in the room.
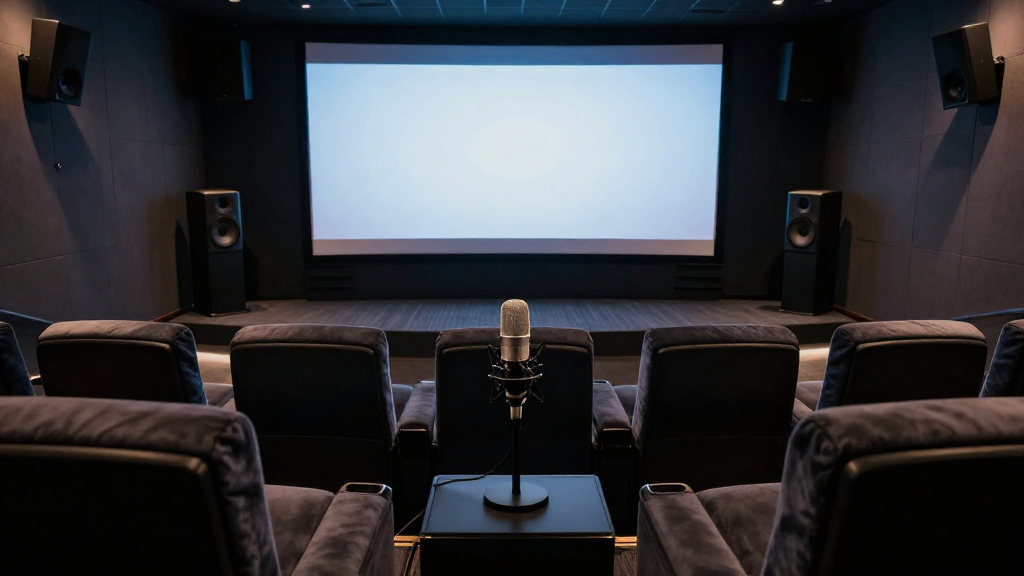
Run the Calibration Tool
Most modern receivers come with built-in calibration tools. Running this tool will automatically measure the levels and distances of your speakers.
- Follow the on-screen instructions provided by your receiver.
- Ensure the microphone is placed at ear level in your primary listening position.
- Allow the tool to run through its complete analysis without interruptions.
How Do You Fine-Tune Your Audio Settings?
After the initial calibration, fine-tuning your audio settings is essential for achieving the best sound quality. This step helps to address any inconsistencies in sound performance.
Adjust Speaker Levels
After calibration, it’s beneficial to manually adjust the speaker levels based on your preferences. This can enhance your listening experience further.
- Use the sound level meter to measure each speaker’s output.
- Adjust levels so all speakers are equally balanced at your listening position.
- Consider adjusting the subwoofer level separately for optimal bass performance.
Tweak Crossover Settings
Crossover settings determine how low frequencies are handled by your speakers. Tuning these settings can significantly impact sound quality.
- Experiment with crossover frequencies to find the best balance between your subwoofer and other speakers.
- Generally, a frequency around 80Hz is a good starting point for most setups.
- Monitor how changes affect overall sound to determine the ideal crossover setting.
What Should You Listen For After Calibration?
Once you have calibrated your home theater speakers, it’s important to listen carefully to the audio quality. This will help you determine if further adjustments are necessary.
Evaluate Soundstage and Imaging
After calibration, assess the soundstage and imaging of your audio system. An effective setup should create a clear and immersive audio environment.
- Listen for a well-defined center image that makes dialogue sound natural.
- Check if sounds can be pinpointed to specific locations in the room.
- Ensure that the soundstage feels wide and enveloping, rather than flat.
Test for Balance and Clarity
Balanced sound is a key indicator of successful calibration. You should hear a clear distinction between different sound elements.
- Play various audio tracks to evaluate how well each speaker performs.
- Listen for any sounds that may seem drowned out or overpowering.
- Adjust settings as necessary to achieve better clarity and balance.
How Often Should You Re-Calibrate Your Speakers?
Re-calibrating your home theater speakers periodically is essential to maintain optimal sound quality. Regular adjustments can help adapt to changes in your room or audio equipment.
When to Re-Calibrate
Consider re-calibrating your speakers in the following situations:
- If you change your speaker placement or layout.
- When you upgrade or replace any audio components.
- After significant changes to your room’s acoustics, such as new furniture or décor.
Regular Maintenance Tips
In addition to recalibrating, regular maintenance can help preserve sound quality:
- Keep your speakers clean and free of dust.
- Periodically check connections and cables for wear and tear.
- Consider using acoustic panels to further enhance room acoustics.